|
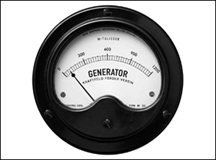
Step 1: Generate an Image
RedKid offers several different image generating tools. There are multiple sign generators, a picture to text converter, an anti-pixel button generator, an avatar maker, a banner creator, a freeway sign generator, a favicon creator, and a very flexible graphics program called image merge. Click the generator above to begin.
|
|
|
|
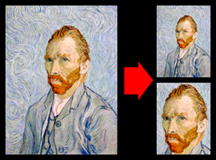
Step 2: Crop/Re-Size Your Image
Many of the images that can be made with RedKid's generators are too large for messageboards, blogs, webpages, etc. Once you have generated your image, feel free to crop or re-size the image in any wya you choose with RedKid's Cropper. Click Mr. Van Gogh to be taken there.
|
|
|
|
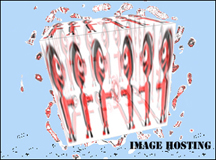
Step 3: Upload Your Image
Once you have generated your image(s), and cropped/re-sized them to your specifications, you can upload them to RedKid.Net's free Image Hosting. After the upload, copy and paste the URL's to your website, messageboard, email, etc., or if you prefer, hot link to the image. All necessary code is provided upon upload. Click the Cube to start uploading.
|
|